


")


browse previous posts:
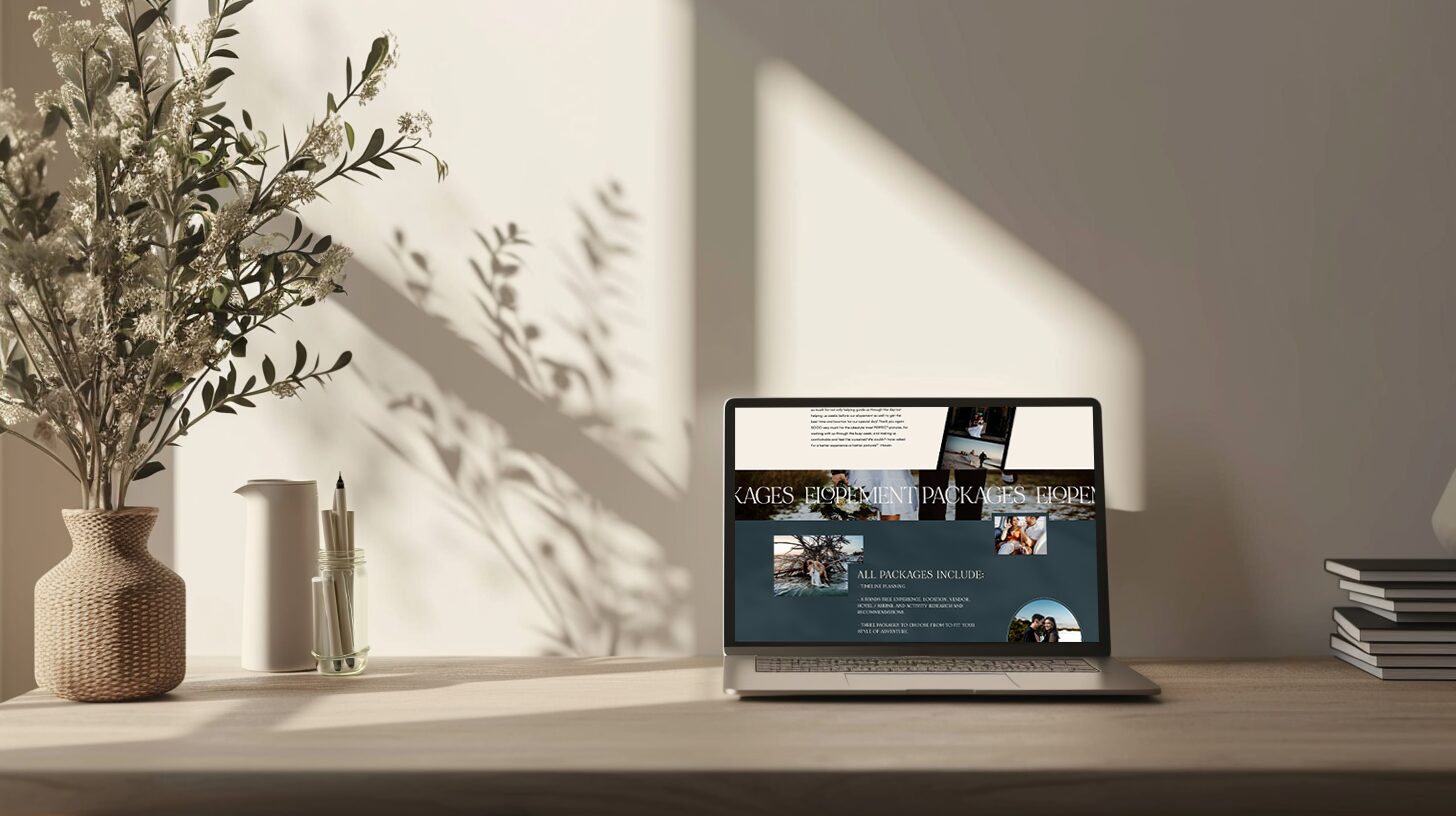
Your share image serves as the front cover of your story, the visual handshake between your brand and potential clients scrolling through their social feeds. As a savvy web designer or brand strategist, knowing how to update your share image on Showit is pivotal for ensuring your content captures attention and communicates your brand narrative effectively. This blog post will guide you through the process of updating your share image on Showit, ensuring your online presence is as polished and professional as the services you offer.
Step 1: Log in to Your Showit Account
Begin your journey by logging into your Showit account. Prepare to immerse yourself in a user-friendly interface that simplifies web design, allowing you to focus on unleashing your creativity and branding expertise.
Step 2: Navigate to Your Desired Page
Your Showit site is a tapestry of unique pages, each with its own purpose and potential. Select the page you wish to update. This specificity allows for a customized approach to how your content is represented on different social media platforms.
Step 3: Access Page Settings
Dive into the heart of your page customization by clicking on the ‘Page Settings’ icon. This gateway opens up a realm of possibilities, allowing you to tweak and tune various elements of your page, including the pivotal share image.
Step 4: Update the Share Image
Under the ‘Page Settings,’ you’ll find the dedicated section for your share image. This is your canvas to upload or update the image that will represent your page on social media. A compelling share image is a visual ambassador of your content, so choose wisely.
Step 5: Image Optimization and Selection
The choice of your share image is a critical decision. It’s not just a picture; it’s a reflection of your brand, your message, and the allure that draws viewers to your content. Here are some tips to ensure your share image is not just seen, but felt and remembered:
- Relevance: The image should be a visual echo of your content, giving viewers a glimpse of what they can expect.
- Quality and Size: Balance is key. Opt for high-resolution images that are optimized for quick loading to ensure a seamless user experience.
- Branding: Your share image is an extension of your brand. Infuse it with your unique brand elements to make it distinctly yours.
Step 6: Preview, Publish, and Promote
Before you unveil your updated share image to the world, take a moment to preview your changes. Showit’s preview feature allows you to see your page through the eyes of your audience, ensuring every element aligns with your vision. Once satisfied, hit ‘Publish’ and watch as your share image begins its journey across the digital landscape.
Step 7: Testing and Troubleshooting
In the dynamic world of social media, always ensure your share image is performing as intended. Tools like the Facebook Debugger are invaluable allies, helping you confirm that your image is displaying correctly and making the impact you desire. But if for some reason your share image doesn’t load properly here are a few steps to fix it:
- Use Facebook Sharing Debugger: Next, navigate to the Facebook Sharing Debugger. Enter the URL you’re looking to share and hit the ‘Debug’ button. This tool is designed to force Facebook to refresh its cache for your URL.
- Inspect and Refresh: Post-debugging, Facebook will display the cached meta information for your URL, along with any previously stored data. Keep in mind it may take time to update. If your recent updates aren’t reflected, it’s likely because Facebook hasn’t rechecked your site since your last edit. Resolve this by clicking the ‘Scrape Again’ button, then patiently wait for the refresh.
- Review Updated Preview: Following the refresh and allowing a little time for the update, you should see an new preview showcasing all your recent changes. This updated version is what will be displayed when your URL is shared on Facebook moving forward.
Note: Sometimes, it may take several ‘Scrape Again’ attempts before Facebook fully acknowledges your updates.
If, after these steps, you find that your information still isn’t updating as expected, take a moment to double-check your settings. Ensure all changes have been correctly published through Showit. On the off chance that you’re still facing issues with Facebook even after these troubleshooting steps, don’t hesitate to contact Showit’s support team for additional help!
Ready to book your own In Focus Intensive?
RESERVE YOUR design HERE
Leave a Reply Cancel reply

Menu
I'm all about embracing bold designs and crafting stand out websites that captivate. There's a kind of magic in juggling the chaos of motherhood with your passion, and honestly, I wouldn't have it any other way. I'm ready to dive in when you are.
Meet Tiffany
Brand + Web Designer


GET A FREE MONTH OF SHOWIT!
